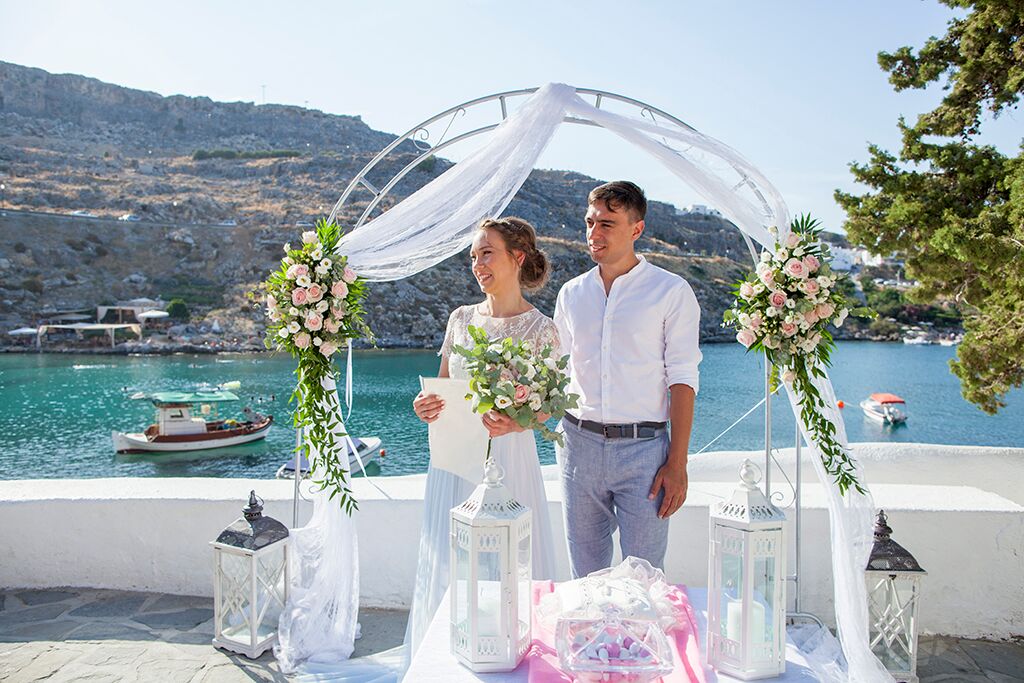
===GALLERY_START===https://test.mosaicwedding.com/wp-content/uploads/2018/04/6_preview.jpeg-13.jpg,https://test.mosaicwedding.com/wp-content/uploads/2018/04/1-3.jpg,https://test.mosaicwedding.com/wp-content/uploads/2018/04/2201_preview.jpeg-1.jpg,https://test.mosaicwedding.com/wp-content/uploads/2018/04/IMG-20190903-WA0006.jpg,https://test.mosaicwedding.com/wp-content/uploads/2018/04/120.jpg,https://test.mosaicwedding.com/wp-content/uploads/2018/04/5_preview.jpeg-13.jpg,https://test.mosaicwedding.com/wp-content/uploads/2018/04/1_preview.jpeg-12.jpg,https://test.mosaicwedding.com/wp-content/uploads/2018/04/IMG-20191014-WA0014.jpg,https://test.mosaicwedding.com/wp-content/uploads/2018/04/3_preview.jpeg-13.jpg===GALLERY_END===